I finally managed to take some photos of my room while it was all cleaned up this weekend. Head on over to the "My Scrap Room" tab and take a look!
Life's not the breaths you take, but the moments that take your breath away.
Monday, November 25, 2013
Sunday, October 27, 2013
Beach Layout
Today I decided that the best way to end my creative block is to just sit down with a piece of white card stock and start sticking things down. I chose the Fancy Pants Trendsetter line for most of the papers and embellishments. I also used some Silhouette cuts and watercolor paints and Thickers for the title.
Sunday, October 20, 2013
Cheer Frames
I picked up these cute little frames at the Dollar Store to put in some goody bags for my daughters cheer squad. Of corse they weren't our team colors so I am having to do a little adjusting. The megaphones were originally red and I needed them to be yellow. I painted the pom poms a more royal blue and added some glitter. I still need to add some lettering to the megaphone. I'm not certain yet what. Maybe the year or team name and each girls name. Decisions, decisions. Gotta get them finished up this week for their last game next Monday.
Thanks for stopping by!
~A
Wednesday, September 25, 2013
Sweet!
I started this layout with white card stock and my watercolor paints. I created an hombre effect from the center out. I also added some black spatter with the watercolors. I am loving the watercolor look right now.
I have this milkglass bowl on my desk that hold all the little leftover bits that are left after a project. I grabbed my bowl and started digging for embellishments for the page. I love red with turquoise so I pulled out anything I could find that was red. I used some Thickers to spell out "Sweet" and added a little journaling and called it complete.
Thanks for stopping by!
A~
I have this milkglass bowl on my desk that hold all the little leftover bits that are left after a project. I grabbed my bowl and started digging for embellishments for the page. I love red with turquoise so I pulled out anything I could find that was red. I used some Thickers to spell out "Sweet" and added a little journaling and called it complete.
Thanks for stopping by!
A~
Tuesday, September 24, 2013
Christmas Class Project
Stay tuned to Scrapbookersemporium.com for more class info and how to sign up. Thanks for stopping by!
A~
Thursday, September 19, 2013
Right Now
My life right now is consumed by a craft room update, cheerleading and softball and an overwhelming urge to create something, anything but then not knowing what it is...frustrating. I browse through amazing creations online and I can feel the creativity flowing in my head but then I can't seem to actually create anything. I am hoping that the new arrangement in my craft room will inspire me to get back into the process. What are you working on right now???
Wednesday, September 11, 2013
Tuesday, August 27, 2013
Vacation Jar
A~
Sunday, August 18, 2013
Finished!
Thanks for stopping by!
A~
Friday, August 16, 2013
Cover
Progress
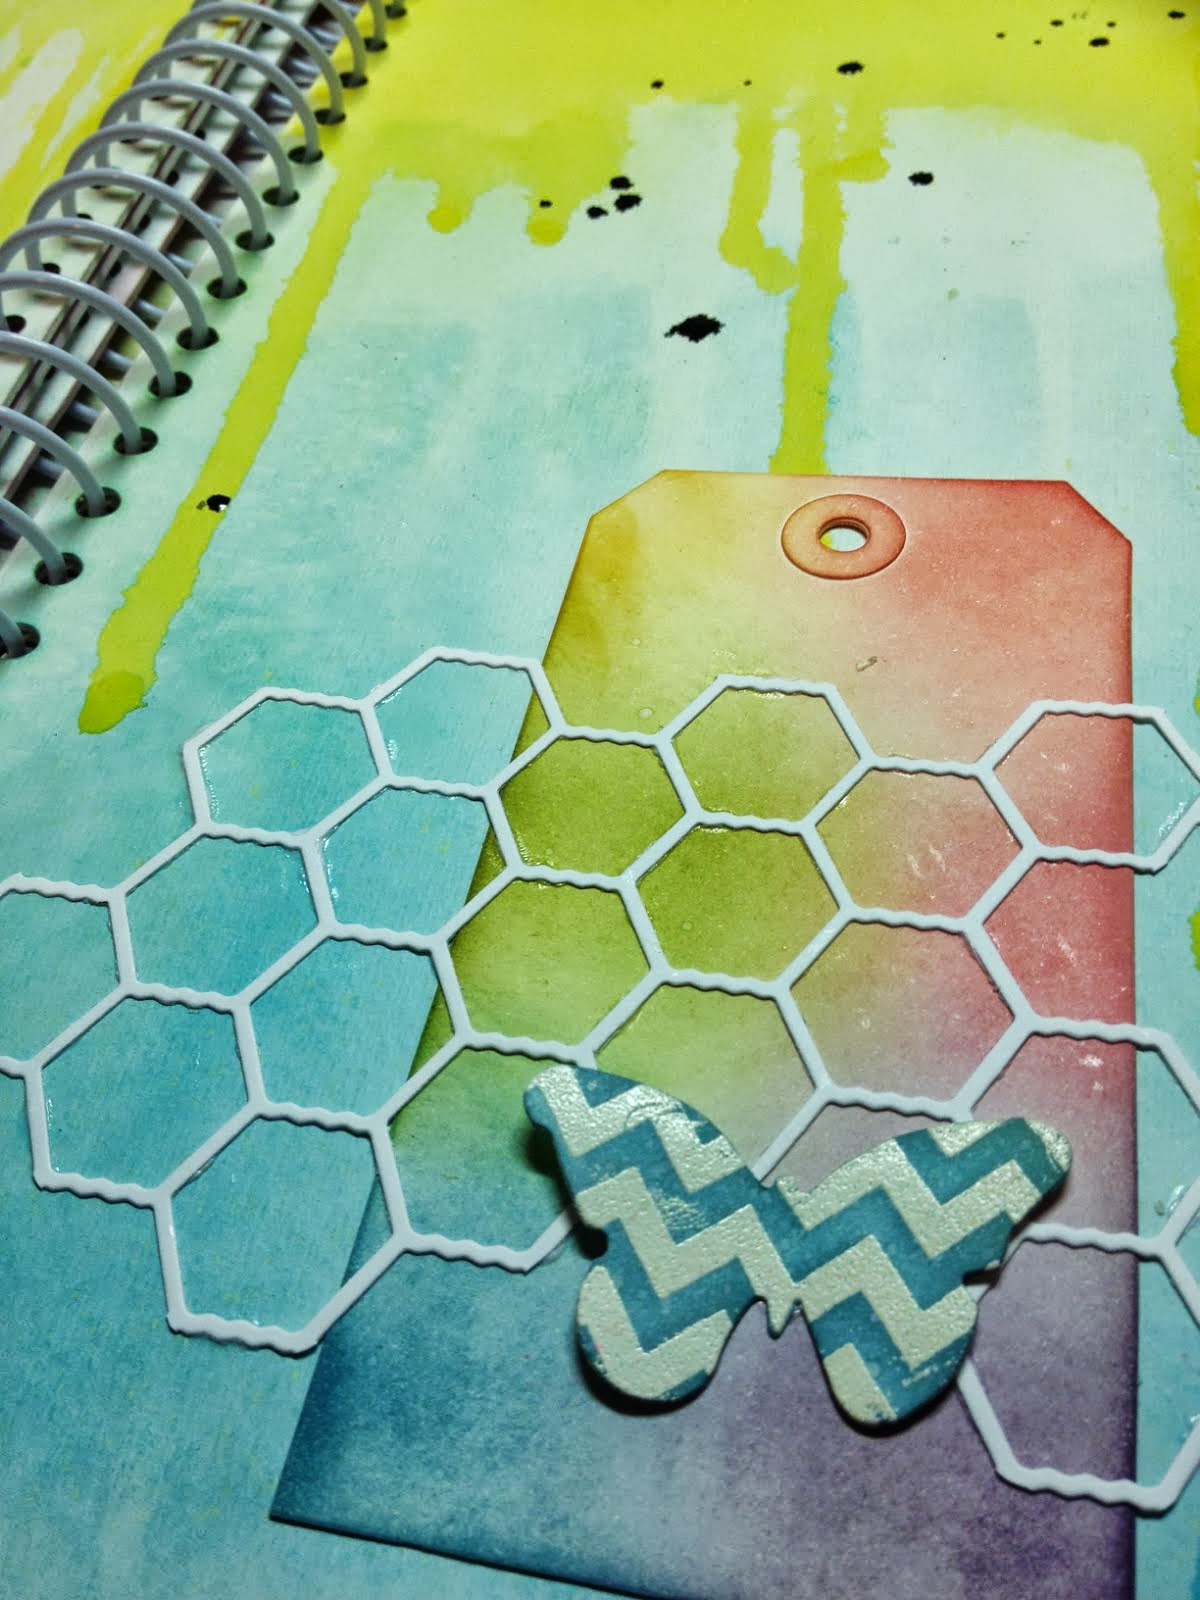
Good afternoon! I made a lot of progress last night on the White Book Project. Things arent looking so white any more! I have incorporated a ton of paint techniques into the book which translates to lots of ways to get crafty and create a mess. Creativity is messy!! I love this new chicken wire wafer die I picked up at Scrapbooker's Emporium. I utilized the inner hexagons as well as the chicken wire in the book. I also plan on cutting it from stencil material so I can use it as a stencil in my art journaling.
Some of the paint techniques we will use during this class are watercolors, misting, stenciling and dripping. We will also be using some Distress Inks on some of the page elements and some heat embossing for a resist technique. The end result is a beautiful 6x12 book titled "Life in Color". Call or stop by the store for more information or to sign up. Hope to see you there!!!
A~
Thursday, August 15, 2013
White Book Project
Friday, July 5, 2013
Friday, June 21, 2013
Yard Stick Love!
I have been searching for some much needed Project Life organization for my desk. I am a visual scrapbooker. If I can see it I am more likely to use it than if it is stored in a drawer or cabinet. I have been searching my usual flea markets and thrift stores because I love vintage things and just couldn't find anything that fit the bill. I had seen some trays and such made out of vintage yardsticks on Pinterest and came up with a plan in my mind of what I wanted. Next I just had to break the news to my husband! I sketched out what I had in mind and handed it to him along with a pile of Wal-Mart yardsticks. After giving me a few strange glances he knew resistance would be futile and we headed to the shop. After many, many, many cuts on the chop saw and lots of wood glue and clamps my little organizer was complete and I was happy. I added cubbies for the 4x6 and 3x4 cards as well as a long narrow cubby for all of my favorite washi tapes. There are also small cubbies all along the front edge for all types of small embellishments. I added some washi along the bottom of the yardstick to cover the Wal-Mart logos.
I hope this inspires you to look for solutions in places you wouldnt normally find them! Thanks for stopping by!!
A~
Wednesday, June 19, 2013
Summertime!
Summer has arrived and my family and I are enjoying the warm weather outdoors with a canoe/kayaking trip this past weekend. The weather and water were perfect and we had a great time. We are looking forward to weekends on our boat at the lake and our end of summer trip to the beach. Lots of memories to put into my Project Life binder!!!
I just finished up with my classes at Scrapbooker's Emporium which will resume in the fall. I am dreaming up a "White Book" project which I think will be lots of fun. If you like to play and get messy then this class will be for you!!!
I will try to get some photos of my new Project Life weeks up by the end of the week!
Thanks for stopping by!!!
A~
Tuesday, June 4, 2013
Bo Bunny Design Team Mini
Today I am sharing my latest design team project for Scrapbooker's Emporium using the Bo Bunny Mamarazzi kit. I chose a base of tabbed chipboard pieces and bound it with rings. There are plenty of beautiful papers and stickers included in the kit and I had a lot of supplies left over to use on other projects. I also used a stamp set from Technique Tuesday along with some of my favorite Studio Calico Wood Veneer shapes. I stamped the images with Staz On onto transparency film. I find that its easier than stamping onto multiple layers so that the image is clear and not broken by the different papers.
Thanks for stopping by.
A~
Thanks for stopping by.
A~
Thursday, May 30, 2013
Embossed Vellum
Today I want to share a tutorial on how I made my own gold dot embossed vellum. I started out with a 12x12 sheet of plain vellum, a dabber bottle of Stampendous embossing ink and some gold embossing powder.
You will also need a heat gun. The dabber top is round so its perfect for making polka dots with no stencil required.
Dab the embossing ink randomly or in a pattern onto the vellum not getting so far ahead that the dabs dry before you apply the embossing powder.
Continue until you have covered the entire sheet and the end result is a beautiful page of gold embossed dots.
Hope you enjoy making your own embossed vellum. You can also use the dabber with stencils to create designs. Thanks for stopping by!
A~
Wednesday, May 29, 2013
Mason Jar Mini
Today I am sharing my current lss Design Team project in progress. Another mason jar chipboard mini using the Lilly Bee Sweet Shoppe kit and chipboard pieces from Scrapbookers Emporium. You can find all the items to make your own mini at Scrapbookersemporium.etsy.com.
Thanks for stopping by!
A~
Thursday, May 16, 2013
PL Week 2
Sorry for the bad photo but wanted to she my 95% complete week 2 layout. I still need to add the "week 2" title but I want them all to be the same for the entire year and I haven't figured out just how I want them so I have left it off for now. This week I used some Elle's Studio stuff along with my "love" mask card I created with Glimmer Mist. I also used some Simple Stories Vintage Bliss papers. I will add some better photos later but this late at night iPhone pics are all I am up for.
Thanks for stopping by!
A~
Thanks for stopping by!
A~
Tuesday, April 30, 2013
Paper Secrets Sketch Challenge
This month I decided to participate in the Paper Secrets Sketch Challenge with a twist. The twist being to use wood somewhere on the layout. Here is the sketch:
Here is my take on the sketch using lots of washi, SC wood veneers, OA label, Thickers and Snap! alphas. Also used some TT stamps with Quick Quotes Powder Puff ink.
I started out with white cardstock and used some watered down green paint to make the paint splats. The banners are hand cut for several papers from my stash.
Thanks for stopping by!
A~
Subscribe to:
Posts (Atom)