Wednesday, December 28, 2011
Project Life Update
Well...it's official. I am the proud owner of the Becky Higgins Project Life Clementine edition. I am excited and leery of the whole thing but I feel motivated to do it! Wish me luck!!!!
Thursday, December 15, 2011
Stamped Metal Jewelry

Monday, December 5, 2011
Project Life
So...I really would love to take on the challenge of Project Life. The concept is great and the products are amazing. Now the problem with this is the commitment to actually DO IT! I doubt myself because I have been trying for 2 years to complete a December Daily album and have yet to finish. The only reason I am thinking about attempting it is because of the fact that for December Daily I feel like I have to plan 25 Christmas activities and for Project Life you simply capture things that "just happen". Are you thinking about taking the plunge?
Sent from Amanda's iPhone
Visit my blog:
www.amandascreativespace.blogspot.com
Wednesday, November 30, 2011
Christmas Wreath

Thursday, October 27, 2011
Creative Mess

"Creativity is messy. I am very creative!"
Tuesday, October 25, 2011
Christmas Mini

Wednesday, October 12, 2011
Decoupage

Monday, October 3, 2011
Things I Love Right Now-October Edition
FINALLY!!! The weather is getting cooler, football is here and I have a whole new list of things I love right now.
1. Pinterest...need I say more. I am totally hooked. Thanks to this wonderful app/website and my Evernote, I will never lose and idea I found on the internet again!!!
2. It's Survivor time again and Ozzy is back. What could be better?!?!
3. As far as scrapbooking goes right now I am loving the Etc. line by BoBunny. I am working on my portfolio by 7 Gypsies that I bought sooo long ago and using the Etc. papers and embellishments.


What do you love right now????
Tuesday, September 27, 2011
Day 27

Friday, September 23, 2011
Day 23
Well my Halloween tree is looking kind of bare so I thought I would use some of the .97 Studio G stamps that I picked up at Wal-Mart to make a tag for the tree. I started with a manilla shipping tag and then stamped on the Halloween images with black pigment ink. Then I used some Distress Inks and my blending tool to add some color.

I used some black tule and the bling that came with the clear stamp set and there you have it. My tree is starting to look better already.

Tomorrow is my School Class at Scrapbooker's Emporium. If you are in the Texarkana Texas area stop by and see me. Have a great night!


Thursday, September 22, 2011
Day 22

Wednesday, September 21, 2011
Day 21
Today was a crazy long day of driving, orthodontists and more driving. After Survivor I did get a little time to sit down in my craft room to work. First I printed out the 52 photos I chose for my deck of cards album.


I managed to get the first two photos done.


I used Vintage Photo Distress Ink on both sides of the car. I am going to stick with embellishments on the face side and photos on the back. Thank goodness the cards are small and dont require a lot of embellishing. Thanks for stopping by!
Tuesday, September 20, 2011
Day 20
If you are familiar with the Zutter Bind-It-All website then you know that they sell a spinner album kit that you assemble yourself. I looked and decided that I could probably do it on my own without purchasing their kit. This is the second one of these that I have assembled. This one I planned a little smaller than the previous one I made. This one will probably hold wallet size photos where the other one was made for 4x6 photos. The materials are fairly simple and power tools are required (which I love!!) You will need a dowel rod, base wood circle, wooden disk, decorative topper, 1" o-wire, chipboard and cardstock. I also used my TH file tab edge die. Here are the things I got at Hobby Lobby today:


I started by using some E6000 adhesive to adhere the small wooden disk to the wooden base.

When that was dry I used a drill to drill a hole for the dowel rod.

I cut chipboard to the size I wanted and used the edge die to make the tabs.


I cut some inserts from the TH Crowded Attic Paper Stash to size.

I used my Bind-It-All to punch holes for the o-wire and then I inked all the edges with Vintage Photo Distress Ink.

Close the o-wire and slip it over the dowel and add the topper. I painted my stand out in black.

Now I just need photos and embellishments. Thanks for looking!
Monday, September 19, 2011
Day 19
Today's project is made from a deck of cards that I picked up at the Dollar Tree. I started out by Gesso-ing the front and back of the 52 cards removing the jokers.

Next I used my Crop-A-Dile to make holes for the binding rings, inked up the edges with some Vintage Photo Distress Ink and attached some chipboard numbers.

I punched a tag with a Quikutz die and used some typewriter alpha stamps to stamp "photos". I used my label maker to spell out "favorite"


I added a metal heart from making memories and the cover is done.

Now to choose the photos and print.
I went to Hobby Lobby today to grab some paper pads for half off. I got this cute Five & Dime 8x8 pad. Adorable!

I also got a couple others for Christmas gifts for my daughter.
Sunday, September 18, 2011
Day 18

Saturday, September 17, 2011
Day 17
Today I visited the $1 Jewelry Store while out shopping with my daughter. Yeah, I know...the jewelry there is gaudy and mostly cheap, but...its $1 for tons of great beads, charms and great decorations for scrapbooking. What might not look good as earrings or a necklace could be a great embellishment. I got one necklace with two rows of teardrop gems, very guady but I just opened the jump rings and I had 15 teardrop charms for minis or to put on other jewelry pieces and a length of chain to repurpose. This store also sell little bags of beads and charms from things that I imagine get broke or come broken so I picked up 3 bags for $1 each filled with great beads, flowers and yummy pieces. So, next time you see cheap costume jewelry think outside the box and try to think of what it could be if used in a different way!
Friday, September 16, 2011
Day 16

Thursday, September 15, 2011
Day 15
My apologies that I didnt post anything yesterday. It has been a difficult couple of days at the Fincher house. I did not get a chance to create anything new today so I thought I would post an old project that I really love. Hope you enjoy and hopefully tomorrow I will get back on track.


Tuesday, September 13, 2011
Day 13

Monday, September 12, 2011
Day 12
Today I stopped by Micheal's to use my 50% off coupon and I picked up a small ornate frame from the $1 spot. I had seen on someone's blog(sorry I cant remember whose) a cute idea for a pincushion. I started by taking out the plastic film that would have protected the photo with my craft knife.

Next I used the paper insert to cut my fabrice about an inch bigger all around.

Using my hot glue gun I stuffed batting between the back flap and the fabric and glued it down.

You can use it laying flat on the table or use the stand to stand it up on your desk.


WARNING: I picked up some Distress Stain and proceeded to stain some of my seam binding and rose trim. They don't call it stain for nothin!!!

Sunday, September 11, 2011
Day 11

That said, today I worked on another charm necklace. I had leftovers from making my daughter's so I decided to make myself one. All I like is to find some photos of the girls for the photo charms. Thanks for looking!
Addicted

I also found that it doesn't take as much glimmer mist to color the seam binding if you mist it with alcohol first. You can use water but it dries quicker if you use alcohol.
Tip: you can also use re-inkers mixed with alcohol.
Saturday, September 10, 2011
Day 10
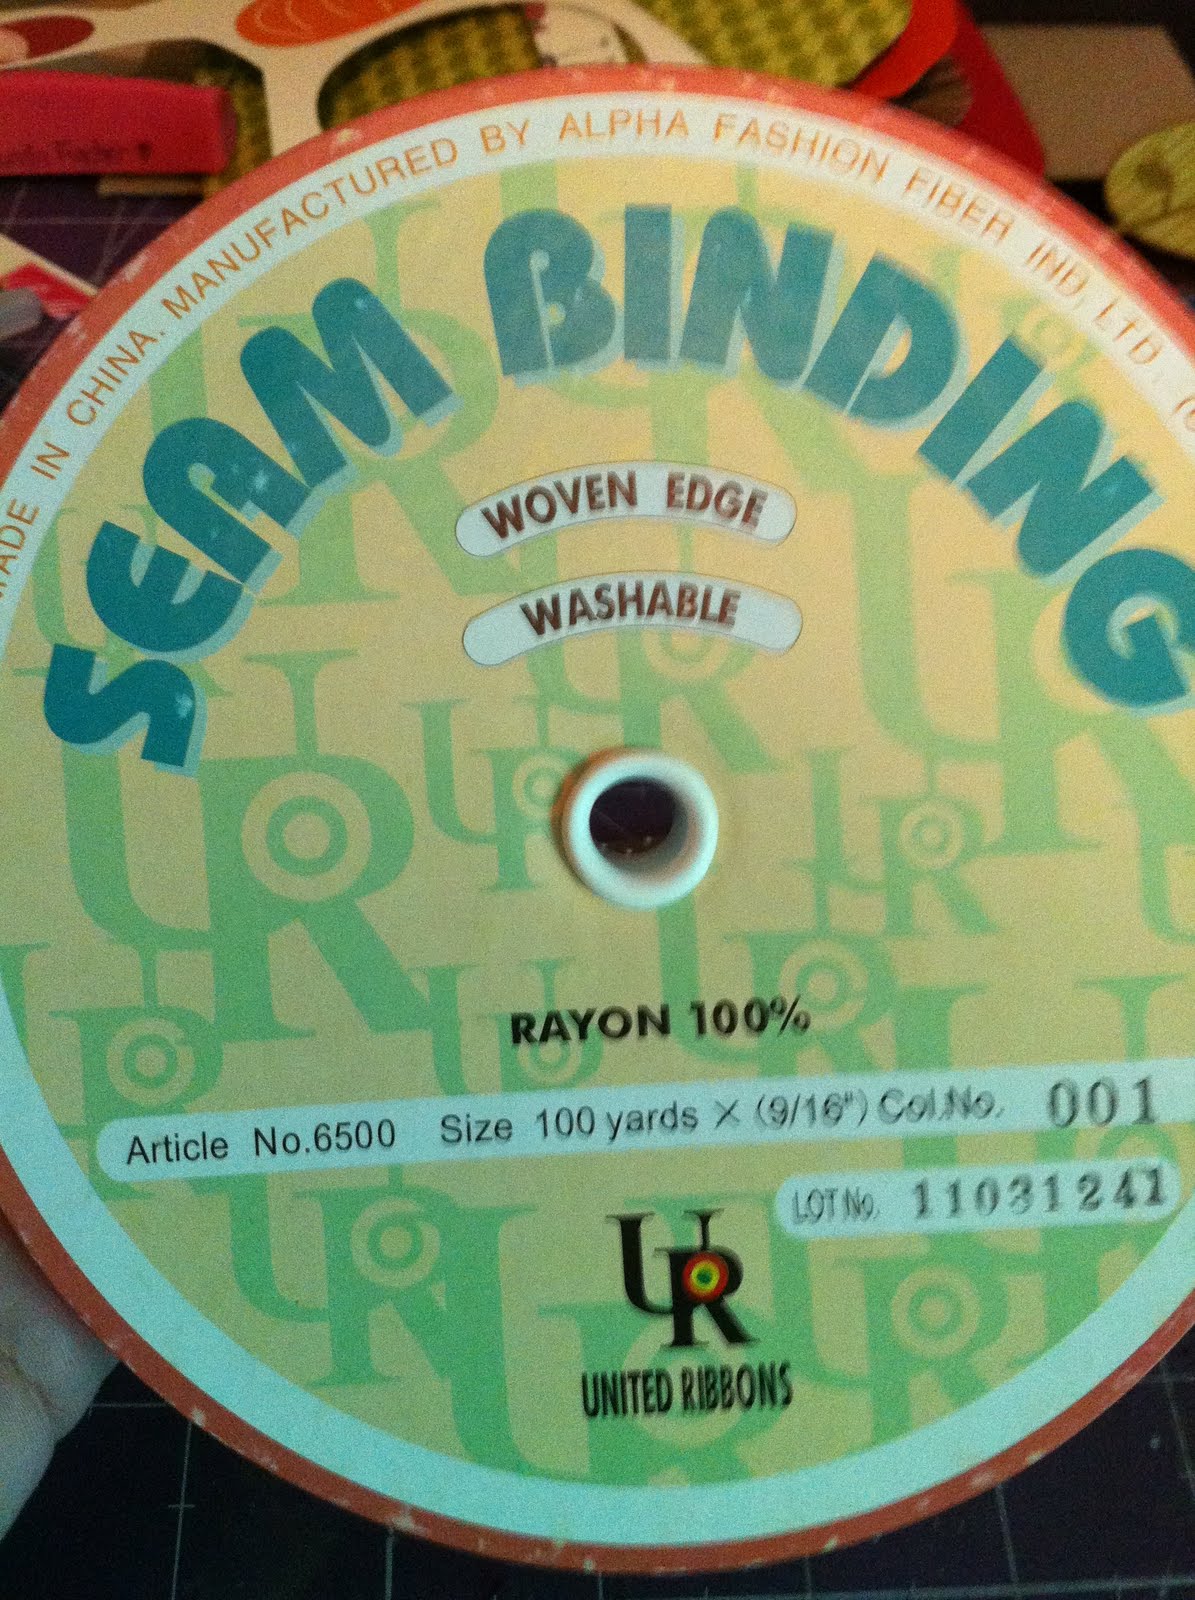
Today I got the seam binding that I snagged off of ebay in the mail. I got a roll of 100 yds for somewhere around $10. I got white so that I could dye it whatever color I need.

So here is my first go at making my own crinkled seam binding. I used Tattered Angels Glimmer Mist as color.

I placed the seam binding in some packaging and sprayed until I couldnt see any more white.

I used my heat tool to speed up the drying because I am inpatient...

Cute, crinkled seam binding and the best part is I can make it any color I need!

Thanks for stopping by. Hope to see you back tomorrow!
Friday, September 9, 2011
Day 9

Thursday, September 8, 2011
Day 8
Today's "something creative" was a quick one due to the Saints-Packers game that is on tonight. I made some cute felt flowers using my new 3-D Flower Sizzix die. The felt works great because it kind of sticks to itself as you roll the flower.

Aren't they CUTE!

I also tried some muslin. A little harder to roll and the flower is smaller, but its really pretty!

Subscribe to:
Posts (Atom)